Now that we’ve got a lot of new people at PaperDemon, I thought it might be helpful to tell you more about who this person is behind the scenes.
Hi, I’m BogusRed and I’m the founder and owner of PaperDemon.com. My real name is Susie Sahim and I live in San Jose, California with my husband, Mike Mitchell. I have a BFA in Animation and Illustration from San Jose State University.
I’m one of those weird nerds who’s an artist, a web designer, and a web developer. I have been fortunate enough to have worked professionally in all three capacities, gaining a wide range of skills.
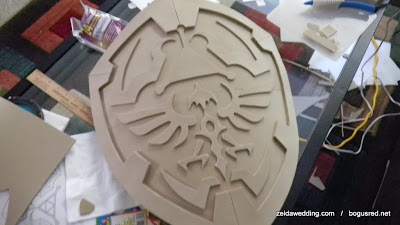
While I was in college, I started the site, initially under the domain BogusRed.net, as a place to showcase the artwork of my friends and to gain experience with MySQL and PHP. It started as a somewhat static website, but over the years it grew into a community and user generated content website. By 2005, the site had taken on the name “PaperDemon” and moved to the PaperDemon.com domain.
Soon after starting PaperDemon, I fell in love with it. I love building things and talking to people who use the things I create. It’s a ton of fun to meet new people and provide a safe place where others can find fulfillment to pursue their passions.
In around 2006, I got hired as an intern at Google and ended up working there for nearly 13 years. I did everything from icons, to doodles, to illustrations, to designing websites, to coding, to being the tech lead for a front end engineering team!
During my time at Google, development on PaperDemon was sporadic for a variety of reasons but I always kept coming back to it.
In 2017, I started to refine the future vision of PaperDemon as a place where people could find acceptance, support and motivation to create more through gamification. As a person with ADHD, I knew how effective immediate rewards are to help motivate positive behavior. And those who struggle the most with motivation, were likely the ones to struggle most with needing acceptance and support. My belief is that mental health and motivation are closely related.
In 2019, I decided it was finally time for me to pursue my dream to work on PaperDemon full time, and say goodbye to Google. It was a challenging adjustment but I feel I’m fully adapted to the work-at-home lifestyle now. There’s still a lot of scary and unkown aspects of running your own business but it gets better each day.
This blog post has gotten long enough and I’ve never been the best at writing so maybe it’s just best to end it there?
It’s lovely to meet all of you new folks and I can’t wait to see what you create.
Much love,
~BogusRed
♥♥♥